Teachers
A lesson for your classroom or geography club
Rain shadow
All teacher notes · Open the lab
A suggested lesson sequence
Use these stages at your own pace. Pause for students to sketch, compare observations or lead part of the demonstration.
01
Observe
Predict which side rises and cools. Set Initial humidity to 20% and Ridge height to 900 m: no cloud forms.
02
Tinker
Compare 70% and 2100 m; follow the parcel through cloud base. Read temperatures at both feet and explain the difference.
03
Explain
Why can air arrive at the leeward foot of a mountain warmer and drier than when it began rising?
04
Check
Choose an answer and explain your reasoning. Each question includes feedback.
Rehearse with the model
The same scene and controls as the lab. Load it when you are ready; use Start projector for the full classroom view.
Before the lesson
Explain why rising air cools and produces rain on a windward slope, leaving drier conditions on the leeward side.
Open the model before the lesson and choose a view that makes the important feature easy to see. Drag to rotate, and use the on-screen controls to change one variable at a time. The Controls panel explains the available keyboard shortcuts.
Pause the animation at a useful moment. Ask students what should happen next, then play it to test their explanation.
Guide the demonstration
Predict which side rises and cools. Set Initial humidity to 20% and Ridge height to 900 m: no cloud forms.
Compare 70% and 2100 m; follow the parcel through cloud base. Read temperatures at both feet and explain the difference.
Discuss a common misconception
“A mountain creates the moisture that falls as rain on its windward side.” The approaching air already contains water vapour. Forced uplift makes the air expand and cool; if saturation is reached, condensation and precipitation may follow. After moisture loss, descending air can become warmer and drier on the leeward side, although the outcome depends on the incoming conditions.
Build the explanation
Rising air expands and cools. If it reaches saturation, condensation can occur; after moisture is lost, descent on the far side of a ridge can bring warmer, drier air to the same elevation.
Compare 70% and 2100 m; follow the parcel through cloud base. Read temperatures at both feet and explain the difference.
The parcel uses simplified lapse rates and assumed condensate loss; it calculates a temperature comparison rather than rainfall amounts.
Teaching notes
Explain that uplift can cool moist air to condensation; a mountain does not create the water vapour.
Distinguish local windward and leeward contrasts from broad climate patterns associated with latitude.
Use long-term climate evidence before classifying a relatively dry valley as a desert.
Check understanding
Open Check for 4 questions. Ask students to explain their choice before revealing the answer.
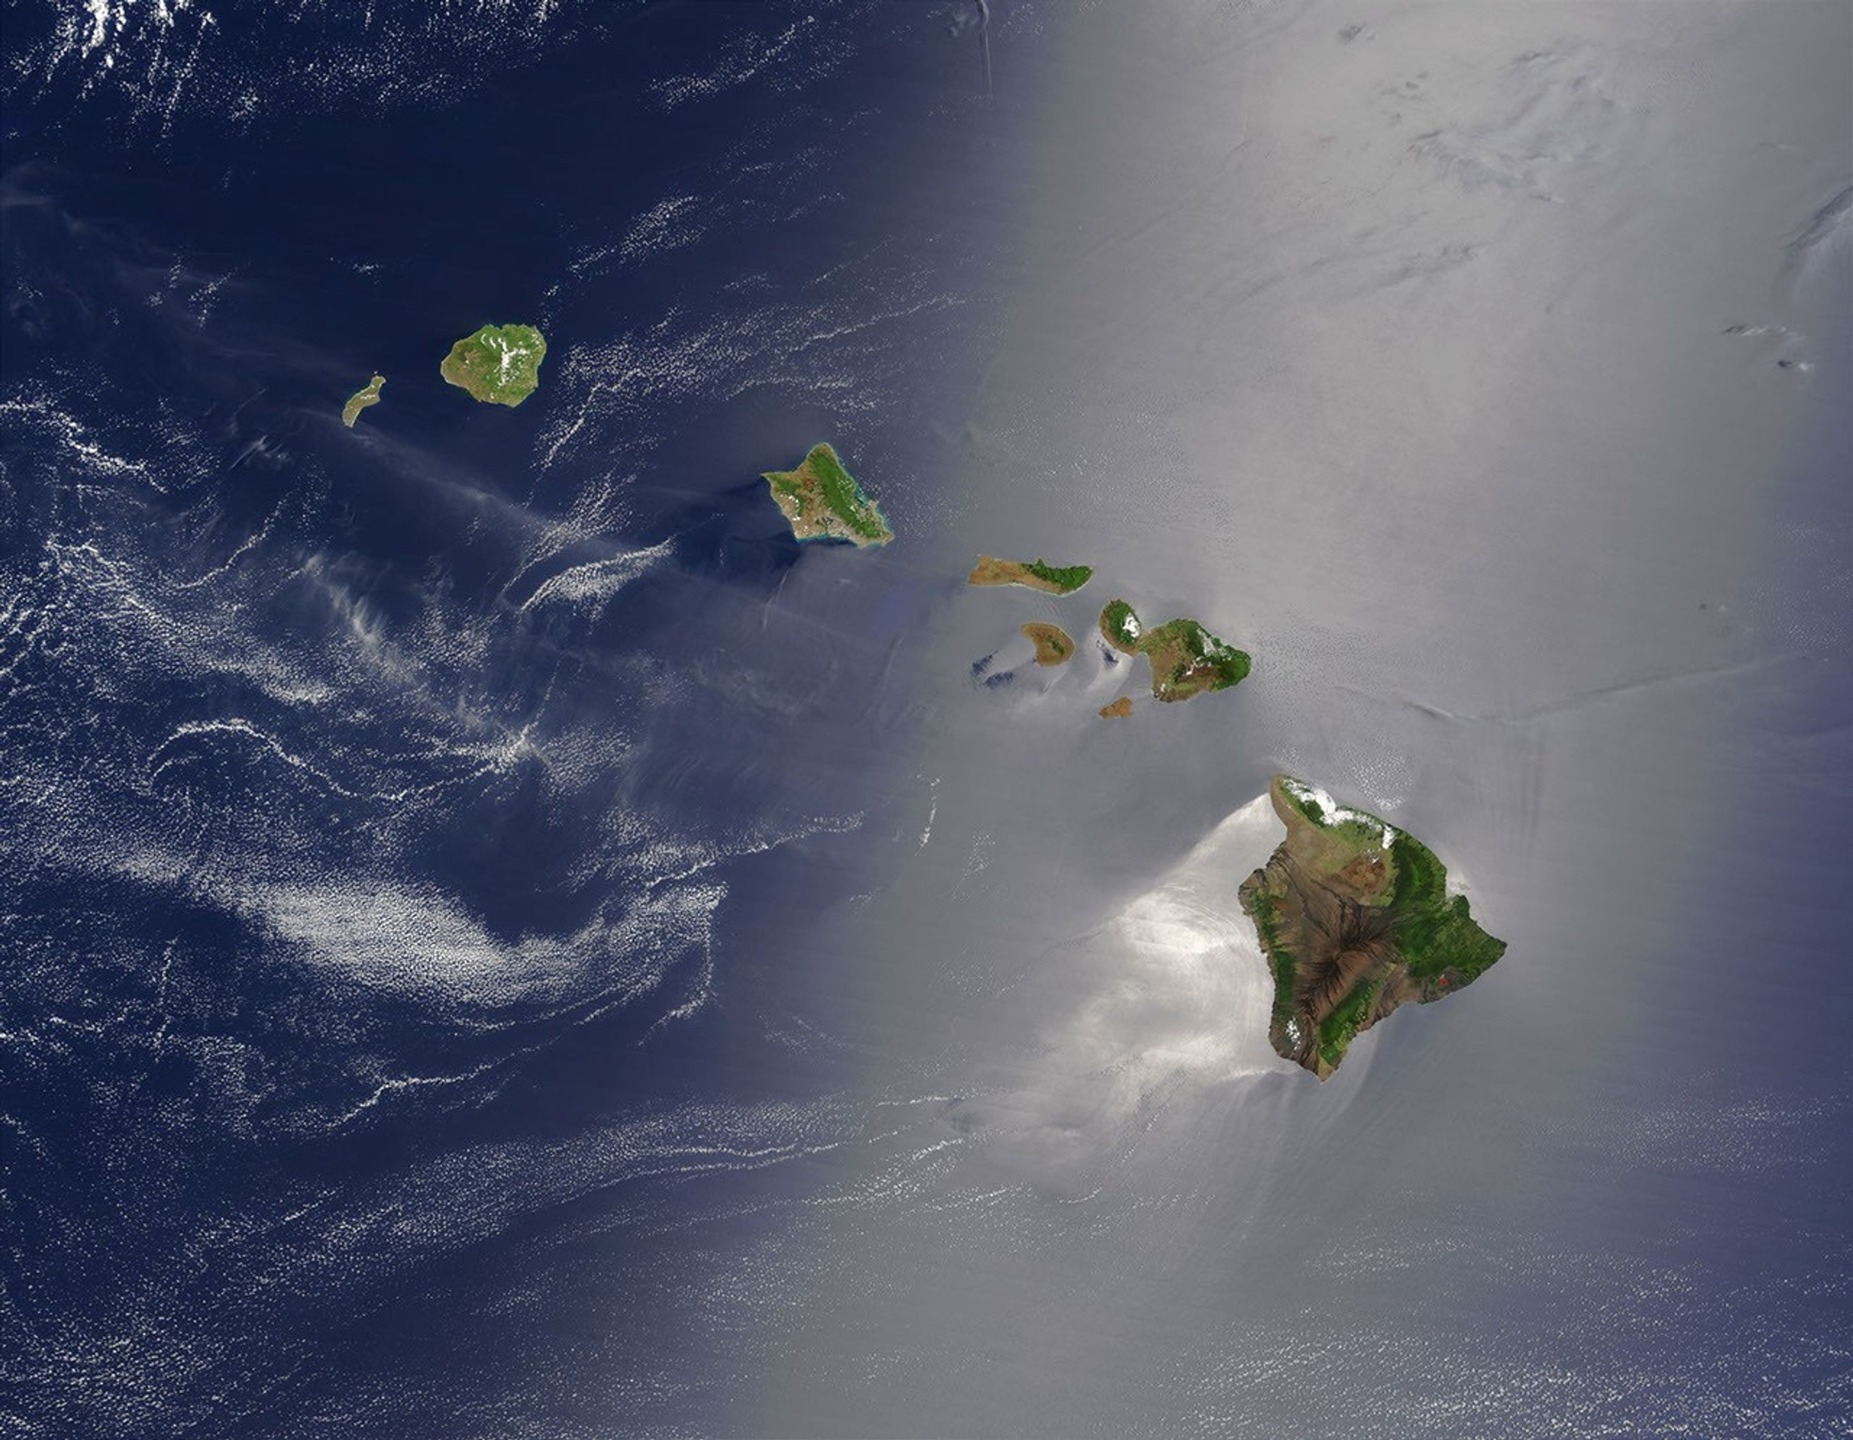
Return to the opening photograph. Ask students to identify one visible feature and explain which part of the model helps account for it.
Look more closely
Use these observations to connect the vocabulary to features students can identify.
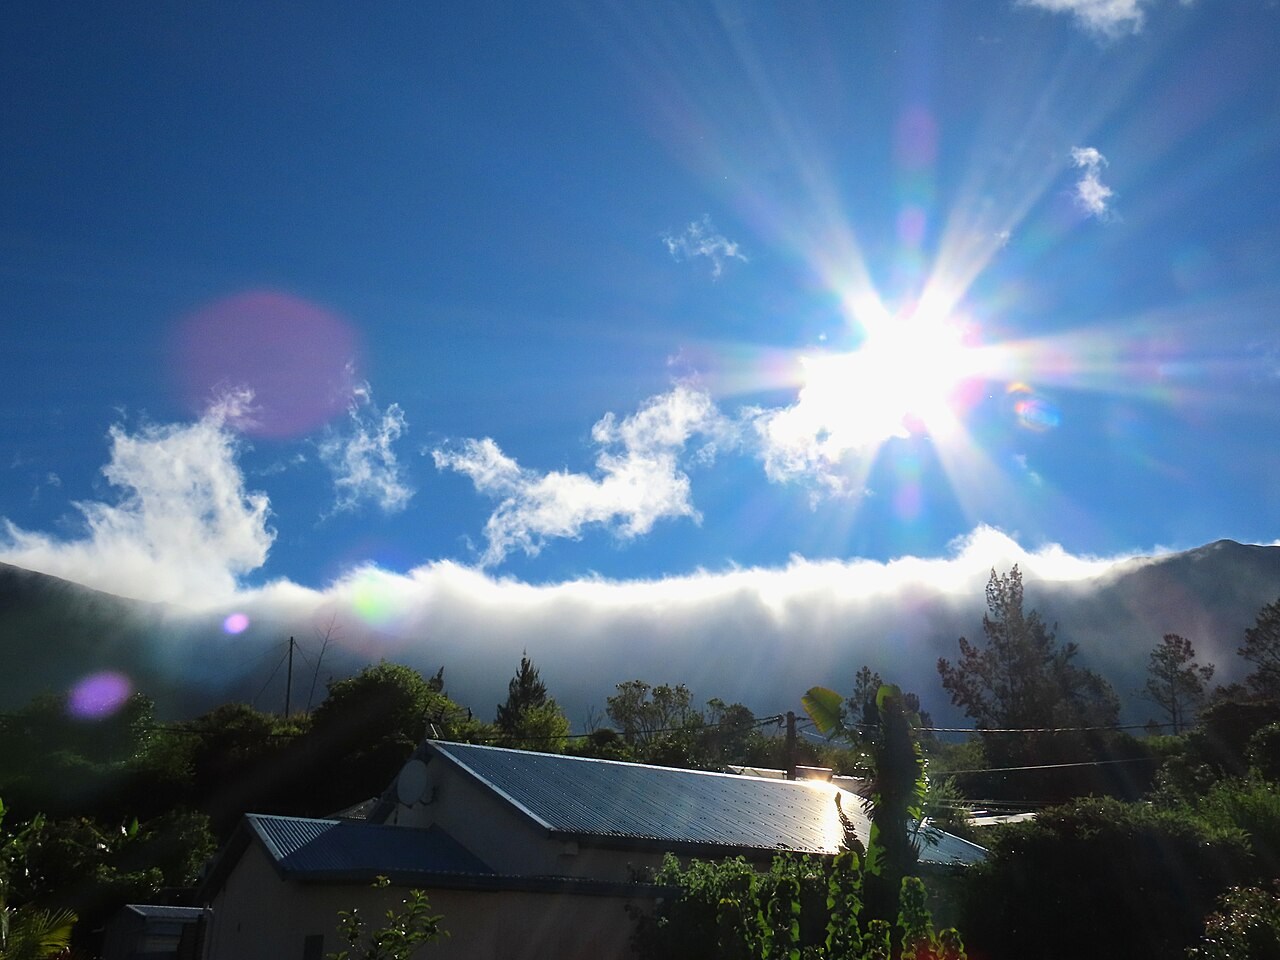
Orographic rainfall
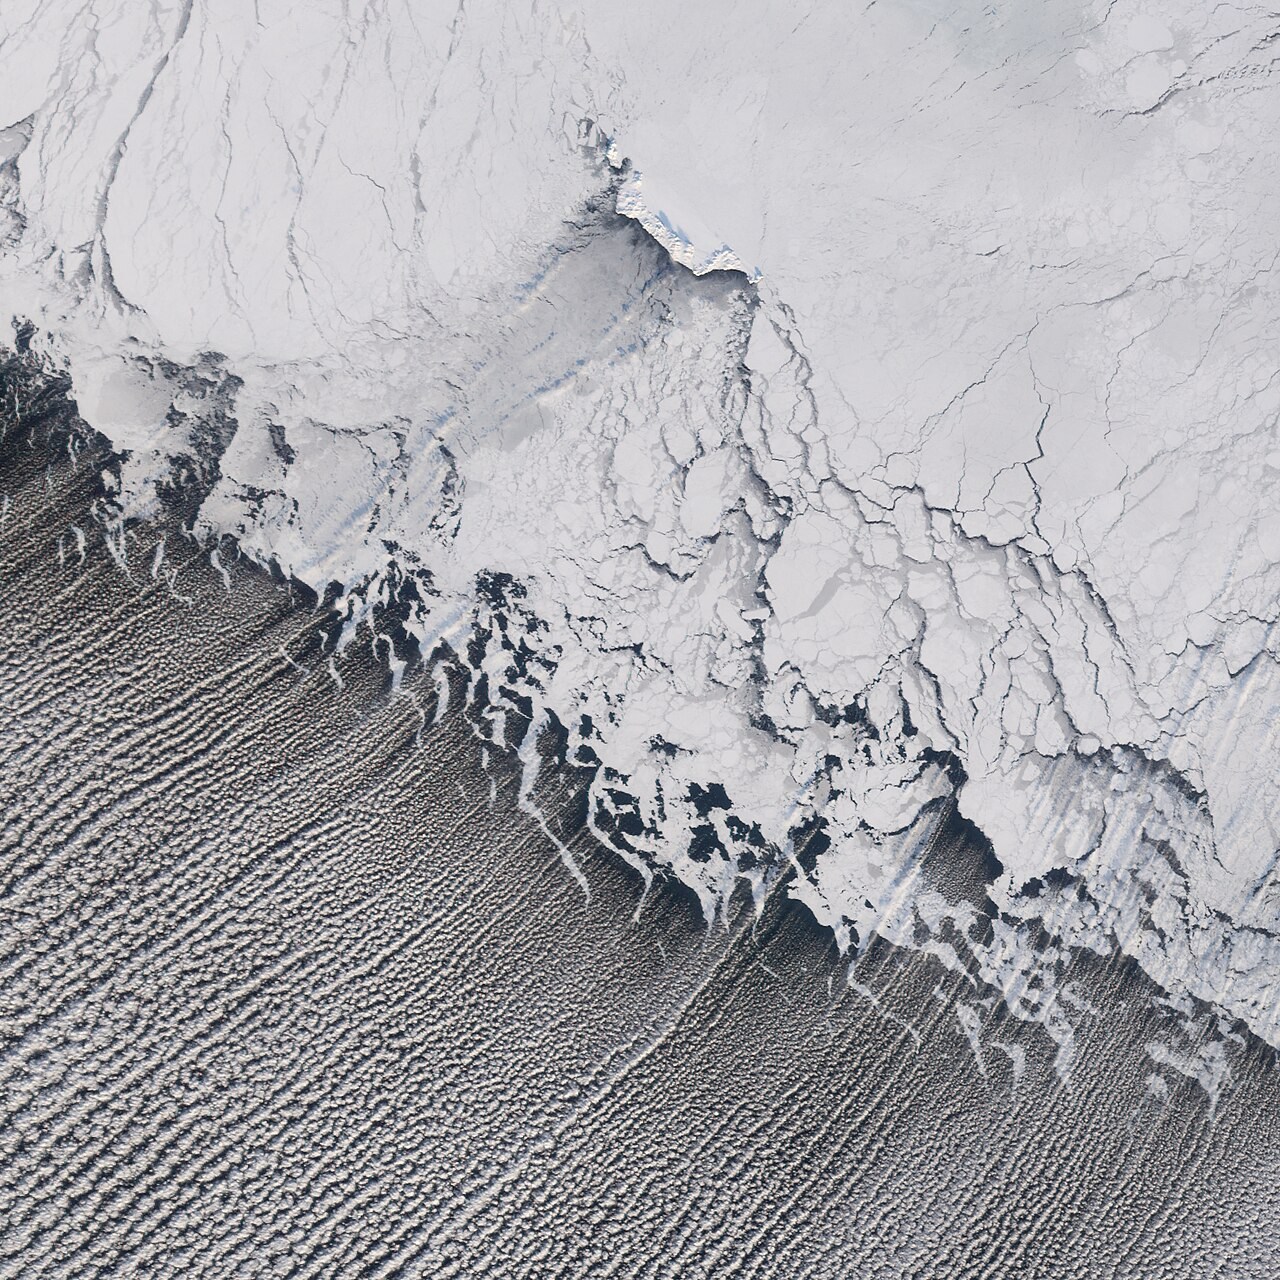
Adiabatic cooling
Sources to keep beside the lesson
- Met Office orographic rain
- NOAA / WRCC Sierra precipitation
- NOAA adiabatic lapse rates