Teachers
A lesson for your classroom or geography club
Water cycle stores and flows
All teacher notes · Open the lab
A suggested lesson sequence
Use these stages at your own pace. Pause for students to sketch, compare observations or lead part of the demonstration.
01
Observe
Identify the ocean, atmosphere, ice, soil and groundwater stores. Select a transfer and follow the highlighted route between stores.
02
Tinker
Show the drainage basin, then increase Abstraction. Explain how removal from a local store changes the water available within the catchment.
03
Explain
How can a local water store shrink even though water continues to circulate through the global system?
04
Check
Choose an answer and explain your reasoning. Each question includes feedback.
Rehearse with the model
The same scene and controls as the lab. Load it when you are ready; use Start projector for the full classroom view.
Before the lesson
Trace water between stores and explain how changes in rainfall or human use affect the amount held in a reservoir.
Open the model before the lesson and choose a view that makes the important feature easy to see. Drag to rotate, and use the on-screen controls to change one variable at a time. The Controls panel explains the available keyboard shortcuts.
Pause the animation at a useful moment. Ask students what should happen next, then play it to test their explanation.
Guide the demonstration
Identify the ocean, atmosphere, ice, soil and groundwater stores. Select a transfer and follow the highlighted route between stores.
Show the drainage basin, then increase Abstraction. Explain how removal from a local store changes the water available within the catchment.
Discuss a common misconception
“Because the global water cycle conserves water, a local reservoir cannot run out.” Water can leave a local store faster than it is replenished. Withdrawals, evaporation and downstream releases may exceed inflow, reducing the stored volume even while water remains elsewhere on Earth. A regional water balance therefore needs the amounts and timing of both inputs and outputs.
Build the explanation
Water moves between the atmosphere, land and ocean through evaporation, precipitation and flows at and below the surface. Naming the stores first makes it easier to trace where water comes from and where it goes.
Show the drainage basin, then increase Abstraction. Explain how removal from a local store changes the water available within the catchment.
The tracers identify transfer routes; their size and spacing do not measure the volume of water moving along each route.
Teaching notes
Name each water store before tracing the transfers between them.
Distinguish the amount of water stored in a river from the volume passing through it over time.
Ask students to explain where water goes during each transfer rather than only memorising the process names.
Check understanding
Open Check for 4 questions. Ask students to explain their choice before revealing the answer.
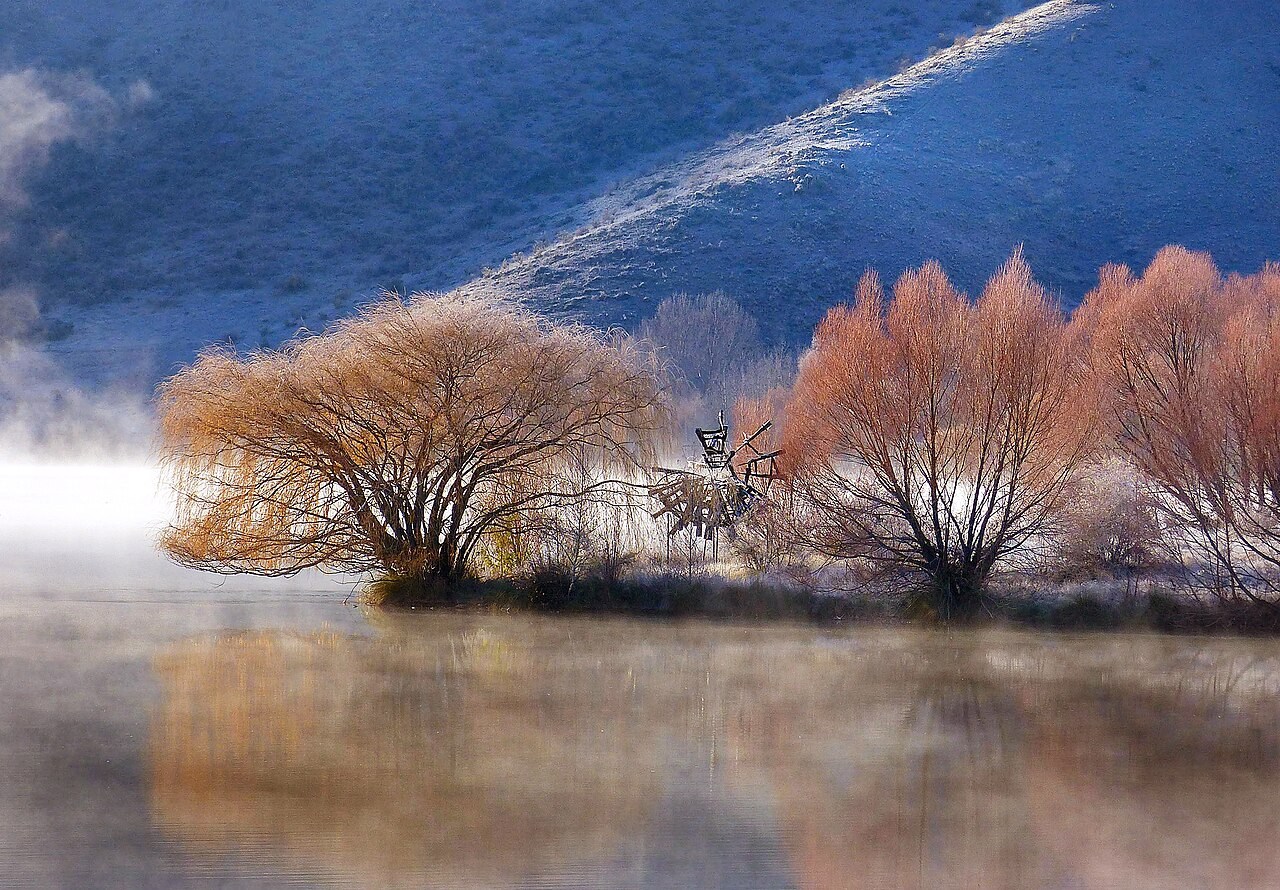
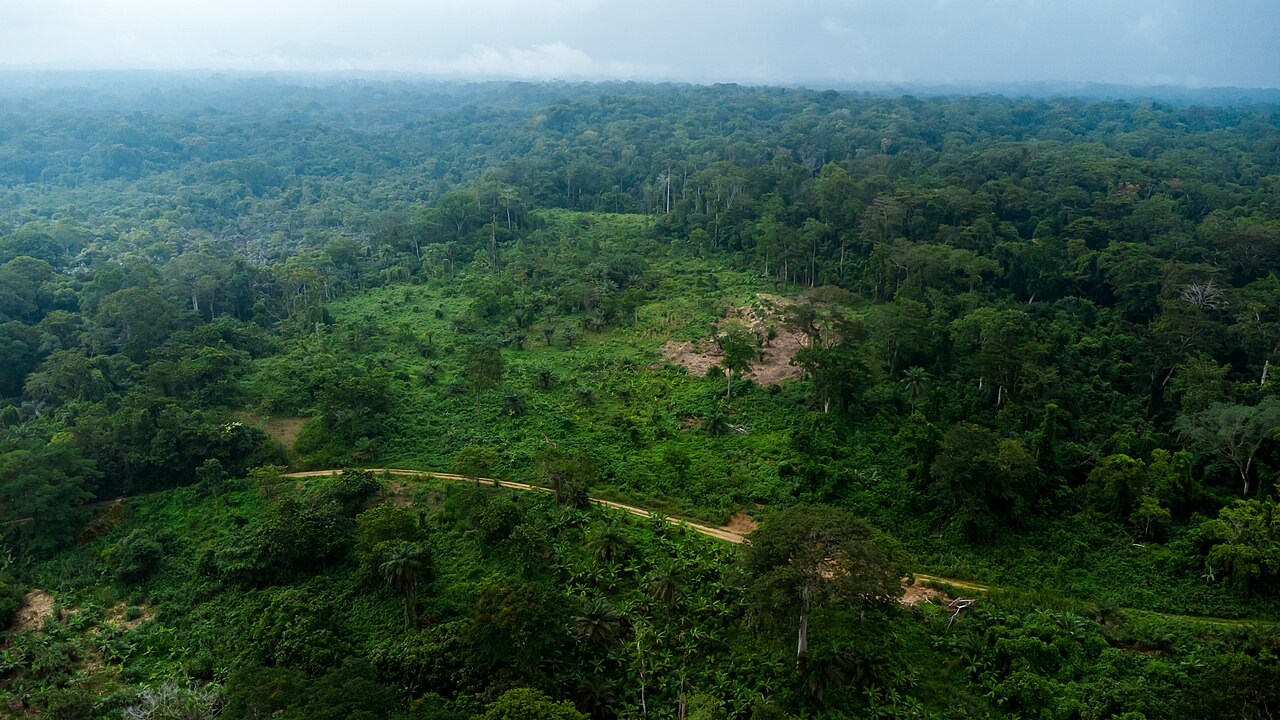
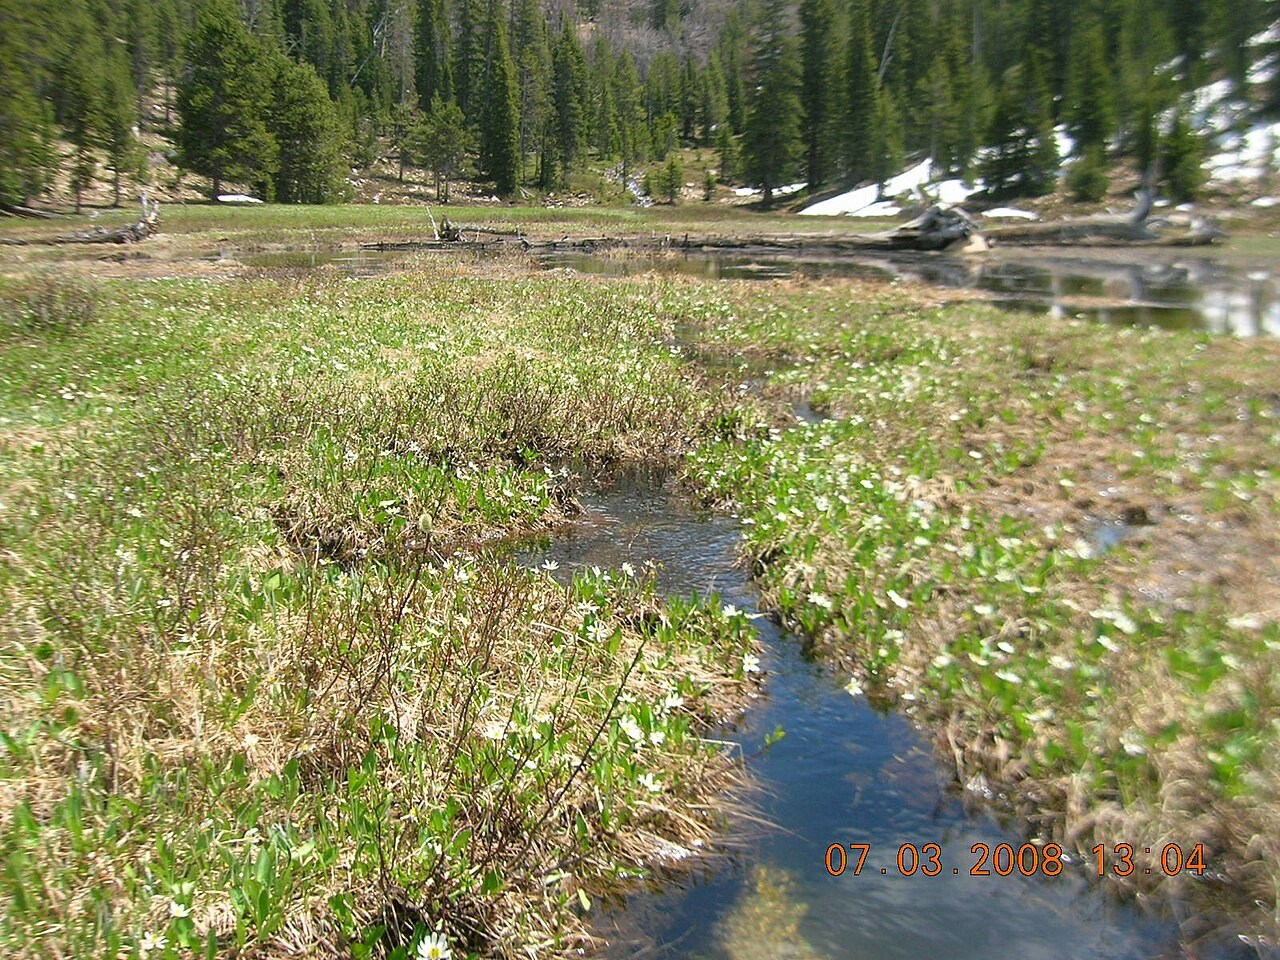
Return to the opening photograph. Ask students to identify one visible feature and explain which part of the model helps account for it.
Look more closely
Use these observations to connect the vocabulary to features students can identify.
Store
Transfer
Sources to keep beside the lesson
- USGS Water Science School
- NOAA water cycle
- UK Centre for Ecology & Hydrology