Teachers
A lesson for your classroom or geography club
Moon phases and Sun–Earth–Moon geometry
All teacher notes · Open the lab
A suggested lesson sequence
Use these stages at your own pace. Pause for students to sketch, compare observations or lead part of the demonstration.
01
Observe
Play a month and compare the Moon’s illuminated half with the smaller disc showing the view from Earth.
02
Tinker
Pause at first quarter and full Moon. Turn on Eclipse alignment and explain why the tilted orbit usually prevents an eclipse.
03
Explain
Why does the shape of the Moon’s visible bright region change while sunlight continues to illuminate roughly half its surface?
04
Check
Choose an answer and explain your reasoning. Each question includes feedback.
Rehearse with the model
The same scene and controls as the lab. Load it when you are ready; use Start projector for the full classroom view.
Before the lesson
Use the positions of the Sun, Earth and Moon to explain the changing illuminated shape we see during a lunar month.
Open the model before the lesson and choose a view that makes the important feature easy to see. Drag to rotate, and use the on-screen controls to change one variable at a time. The Controls panel explains the available keyboard shortcuts.
Pause the animation at a useful moment. Ask students what should happen next, then play it to test their explanation.
Guide the demonstration
Play a month and compare the Moon’s illuminated half with the smaller disc showing the view from Earth.
Pause at first quarter and full Moon. Turn on Eclipse alignment and explain why the tilted orbit usually prevents an eclipse.
Discuss a common misconception
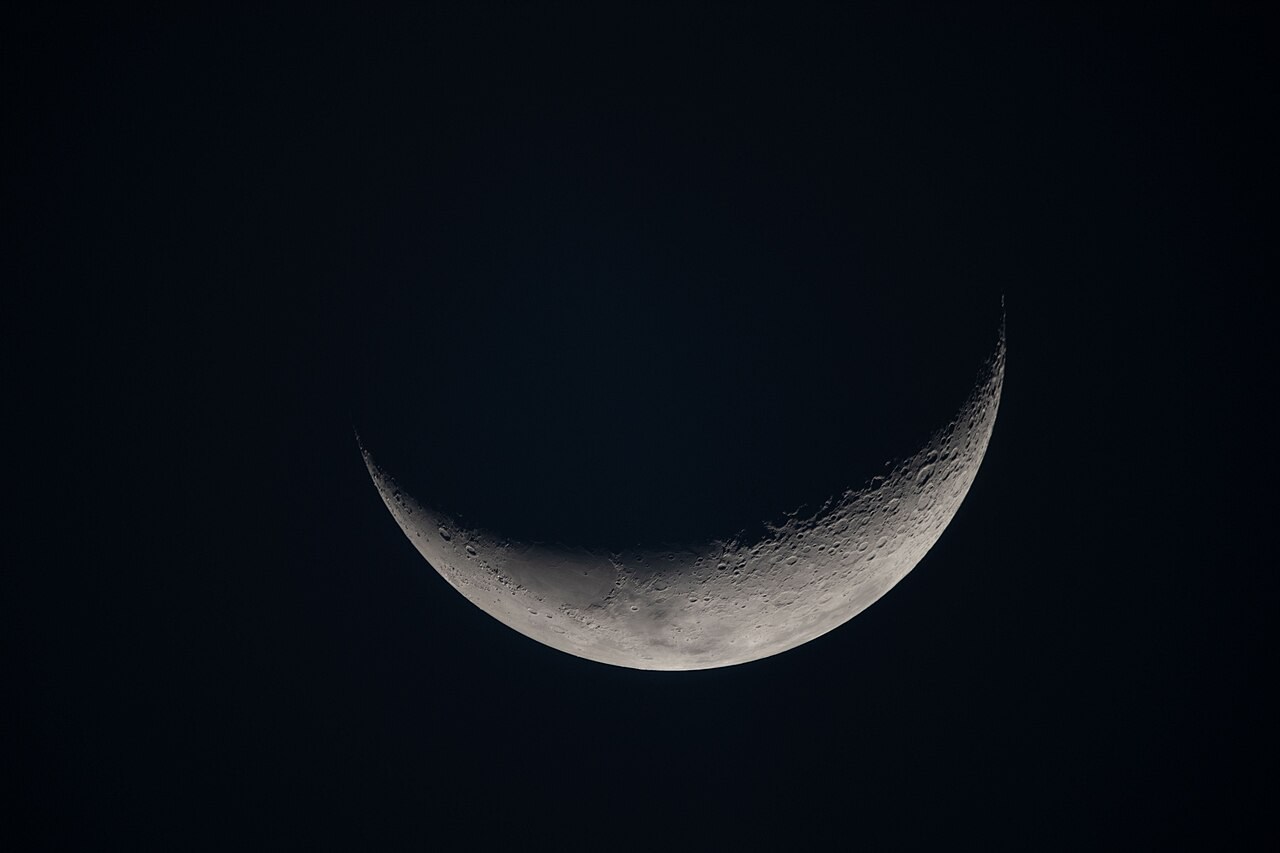
“A crescent Moon forms when Earth’s shadow covers part of the Moon.” Sunlight normally illuminates half the Moon. A crescent occurs when we see only a narrow part of that illuminated half from Earth; the rest of the visible disc is mostly on the Moon’s night side. Earth’s shadow darkens the Moon during a lunar eclipse.
Build the explanation
Sunlight illuminates half the Moon. As the Moon orbits Earth, we see different proportions of that illuminated half, producing the phases; Earth’s shadow is involved only in a lunar eclipse.
Pause at first quarter and full Moon. Turn on Eclipse alignment and explain why the tilted orbit usually prevents an eclipse.
Sizes and separations are enlarged for inspection; compare physical scale to see how widely separated Earth and Moon really are.
Teaching notes
Explain phases as changing views of the Moon’s sunlit half; Earth’s shadow is involved in a lunar eclipse.
Remind students that the average Earth–Moon separation is about 30 Earth diameters, much larger than a compact classroom display suggests.
Keep the observer’s position on Earth clear when comparing the orbital view with the visible phase.
Check understanding
Open Check for 4 questions. Ask students to explain their choice before revealing the answer.
Return to the opening photograph. Ask students to identify one visible feature and explain which part of the model helps account for it.
Look more closely
Use these observations to connect the vocabulary to features students can identify.
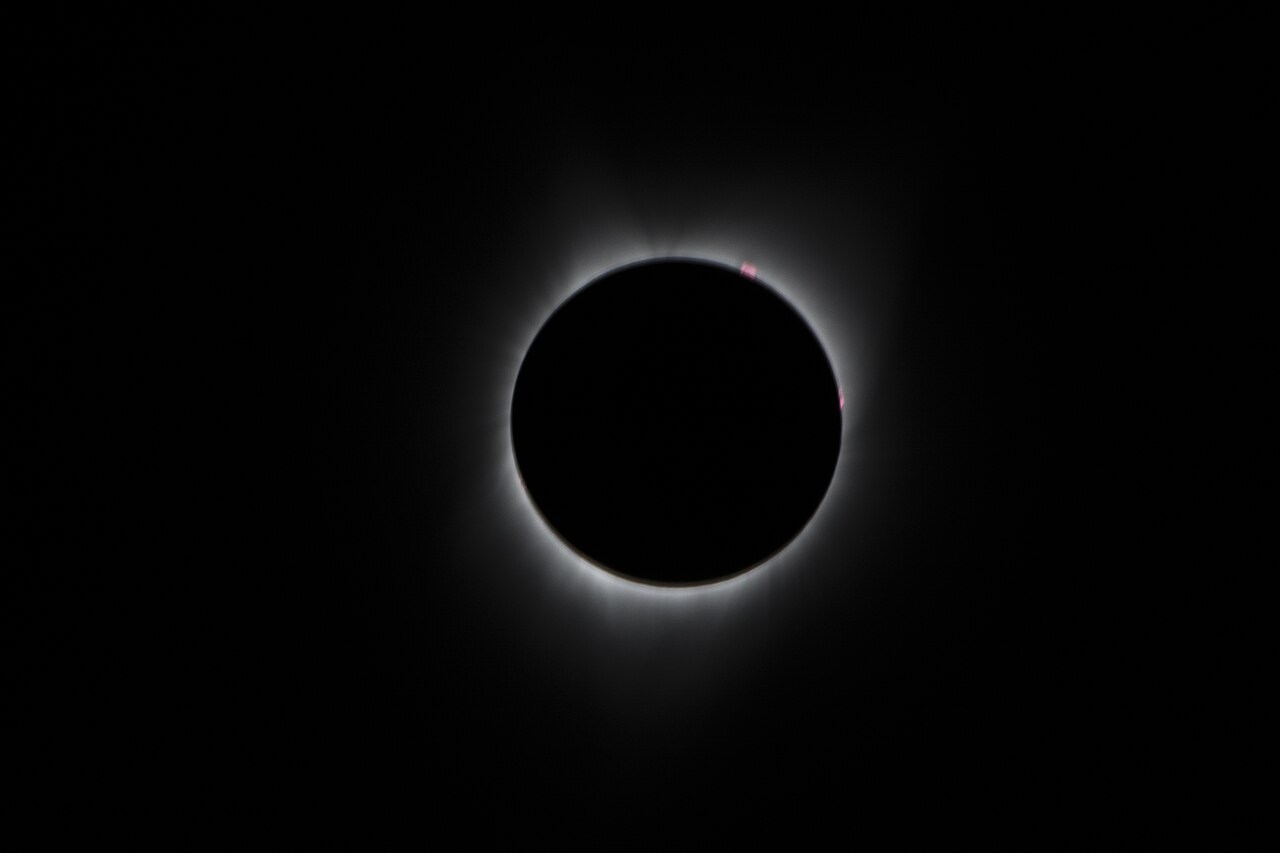
Umbra
Orbital inclination
Sources to keep beside the lesson
- NASA Moon phases
- USGS / NASA SVS Moon kit